Pao de Queijo
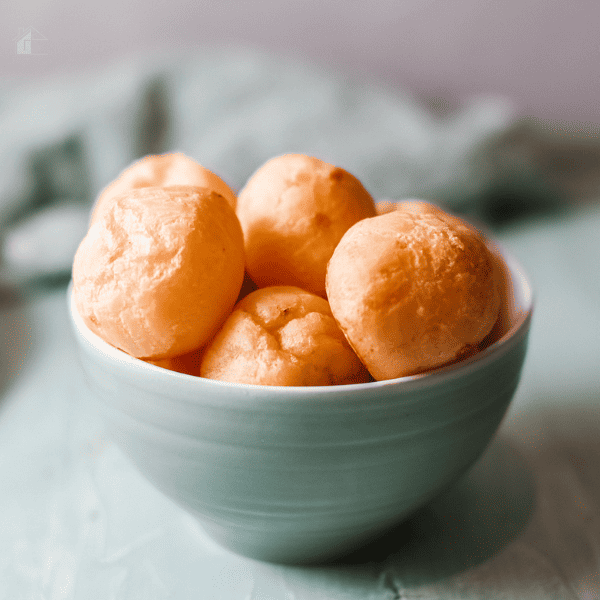
This post may contain affiliate links which might earn us money. Please read my Disclosure and Privacy policies herePao de Queijo or Brazilian cheese bread made with cornstarch that is so easy to make you are going to love it!
This is so delicious!! The traditional recipe calls for tapioca flour but since that’s not something everyone has in their pantry (or that's easy to find) I subbed it for cornstarch and the result was almost identical.
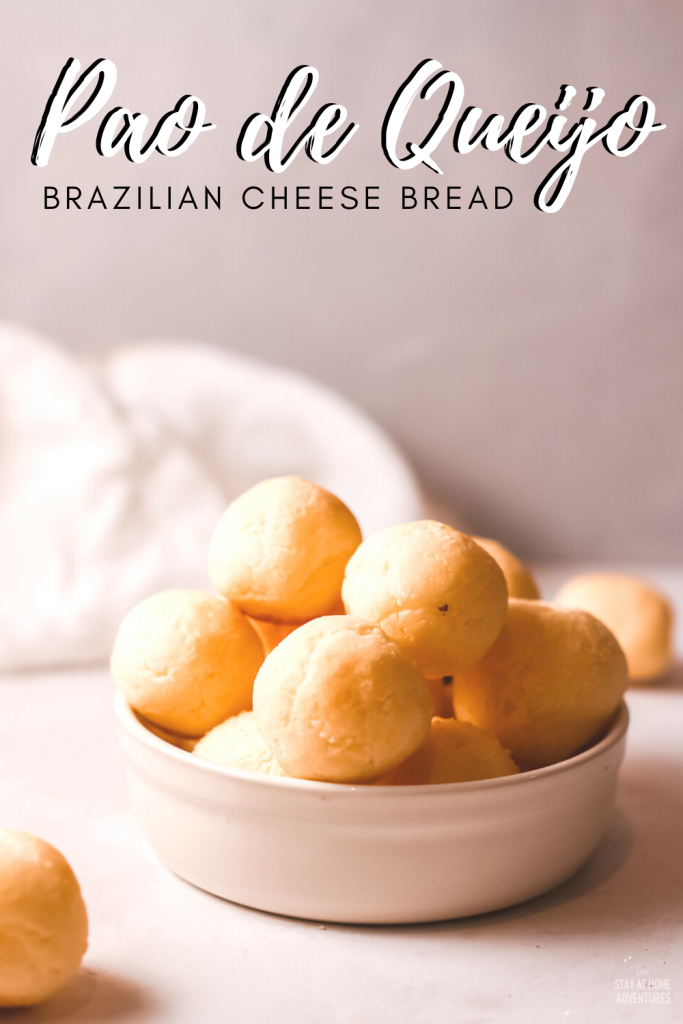
What is Pao de Queijo?
Pao de queijo is a Brazilian cheese roll/bun.
What does pao de queijo mean?
Pao de queijo literally translates to cheese bread.
You might like these recipes:
When do you eat Pao de Queijo?
The cheese bread is often eaten as a snack or breakfast food in Brazil. Once you see the recipe, you’ll see that this would also be great served with soups or just about anything.
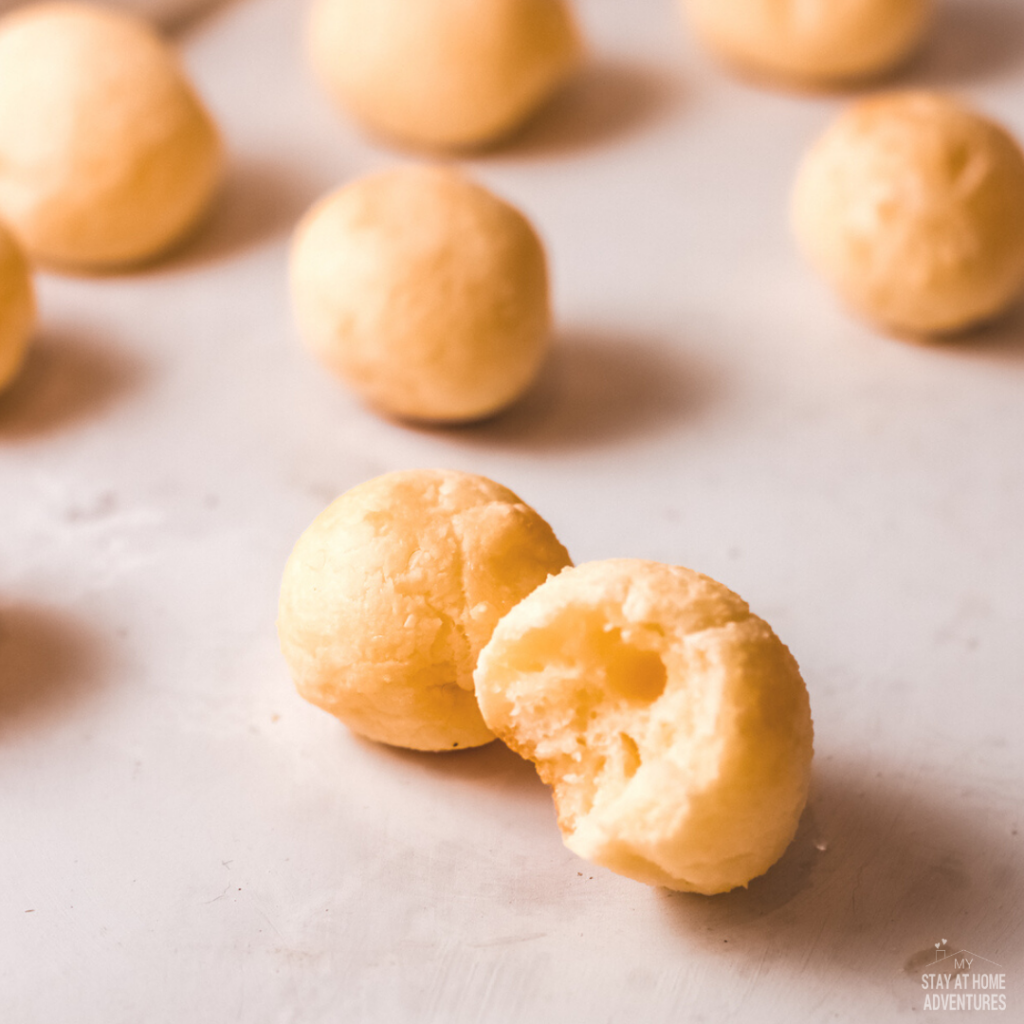
How do you freeze pao de queijo?
You can also freeze them allowing you to make a large batch and keep them frozen for when a pan de queijo craving strikes.
The dough can be placed on parchment paper and frozen. Once frozen, transfer to a zip-top bag and place back in the freezer.
Once you’re ready for a quick snack, place the frozen dough on a baking sheet lined with parchment paper and bake in a 375-degree preheated oven for 20 to 25 minutes or until golden brown.
What are the ingredients to make pao de queijo?
To make this Brazilian cheese bread you are going to need the following ingredients:
- Cornstarch
- Milk
- Vegetable oil
- Mozzarella cheese
- Egg
- Salt
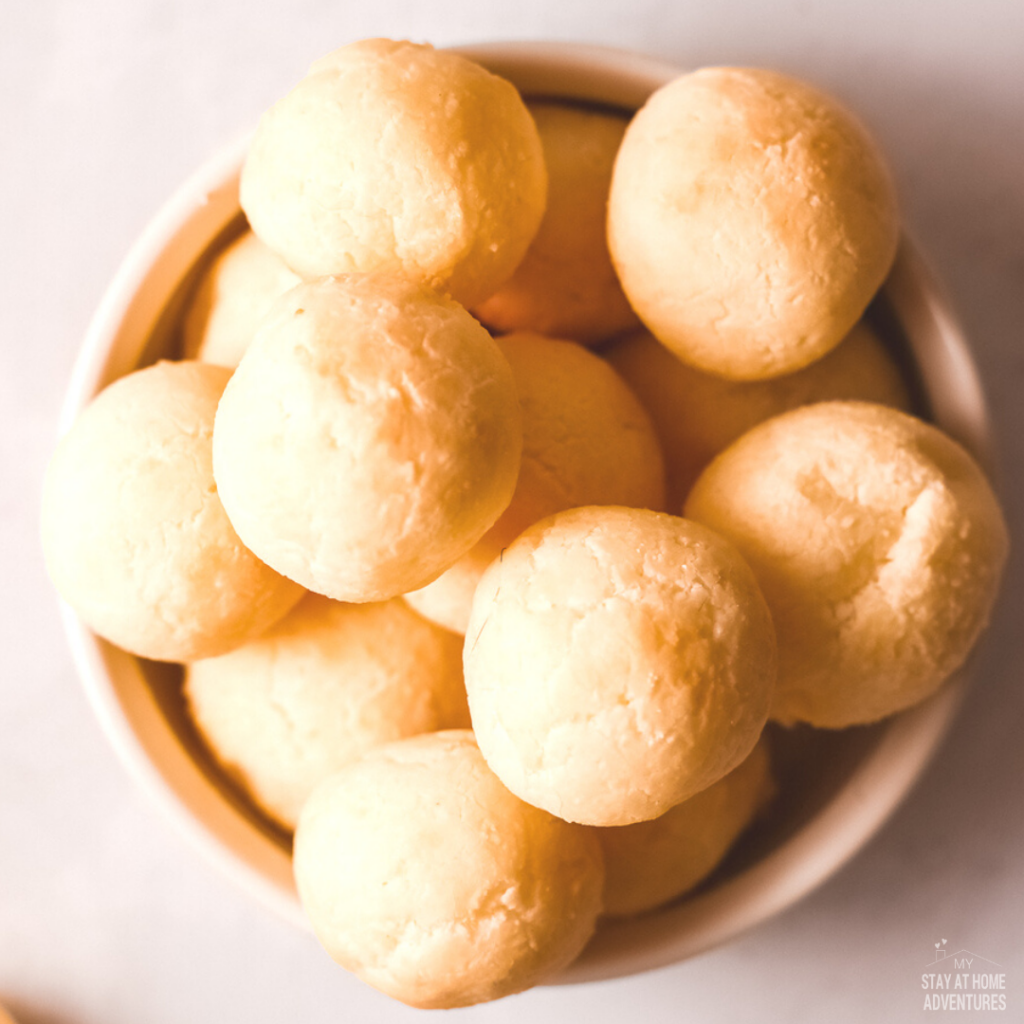
How to make pao de queijo
Now that you have gathered your ingredients it is time to make pao de queijo. All you have to do is follow the steps below:
The first thing you need to do is mix the milk, oil and salt in a saucepan and heat until boiling.
While the milk heats, place the cornstarch in a mixing bowl. Once the milk comes to a boil, pour over the cornstarch and mix for 5 minutes. The batter will begin to look like fondant.
Add the egg and mix for another 4 minutes.
Add the cheese and mix until combined. Cover the mixing bowl with plastic wrap and refrigerate for 30 minutes.
Preheat the oven to 400 degrees. Grease a large baking sheet and set it aside.
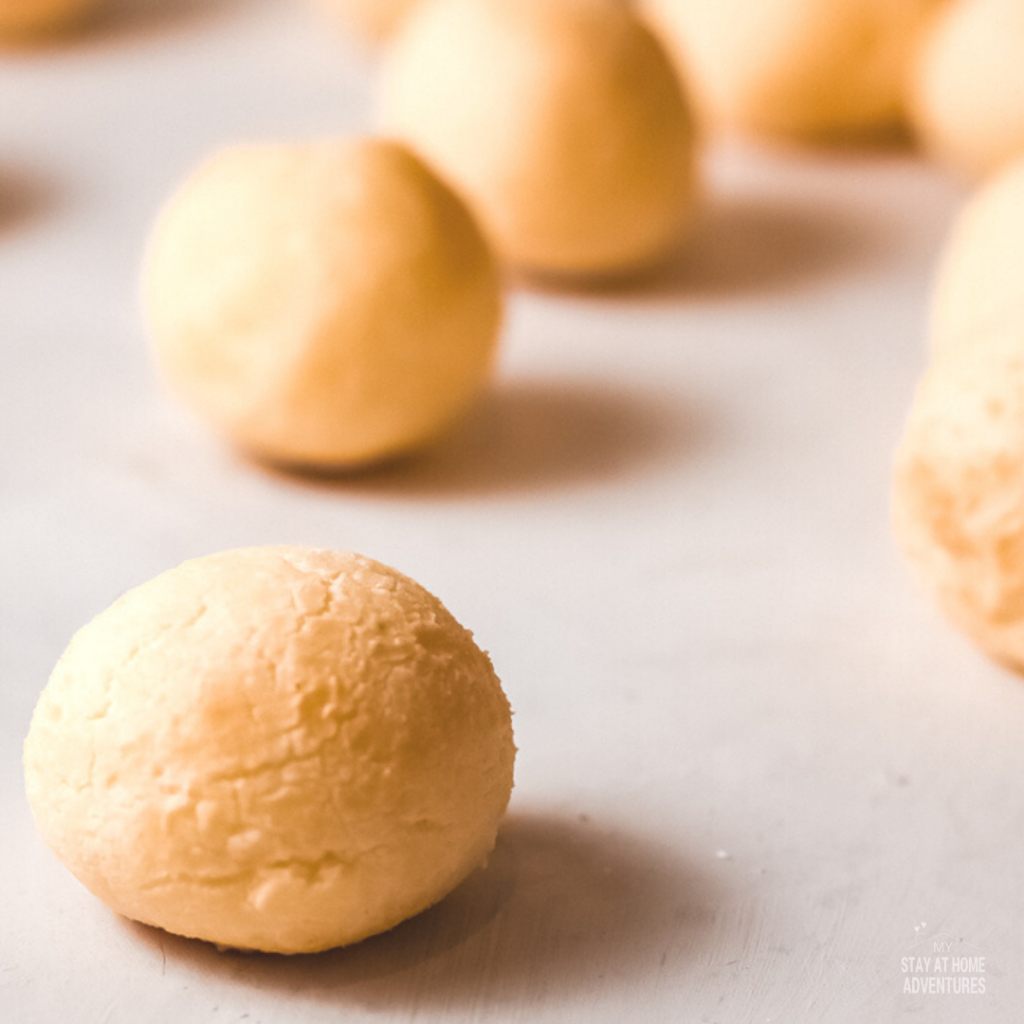
Use a spoon to shape the dough into small balls before placing it onto the baking sheet.
Bake for 18 minutes or until golden brown.
Your pao de queijo is ready to serve!
Pao de Queijo Recipe
Now that you know everything you need to know about how to make pao de queijo it is time to print the recipe.
To print the recipe, click the print button below. Want to save this recipe for later? All you have to do is use the share button to Pin it for later, Mix it or add it to your Yummly account.
Pao de Queijo Recipe
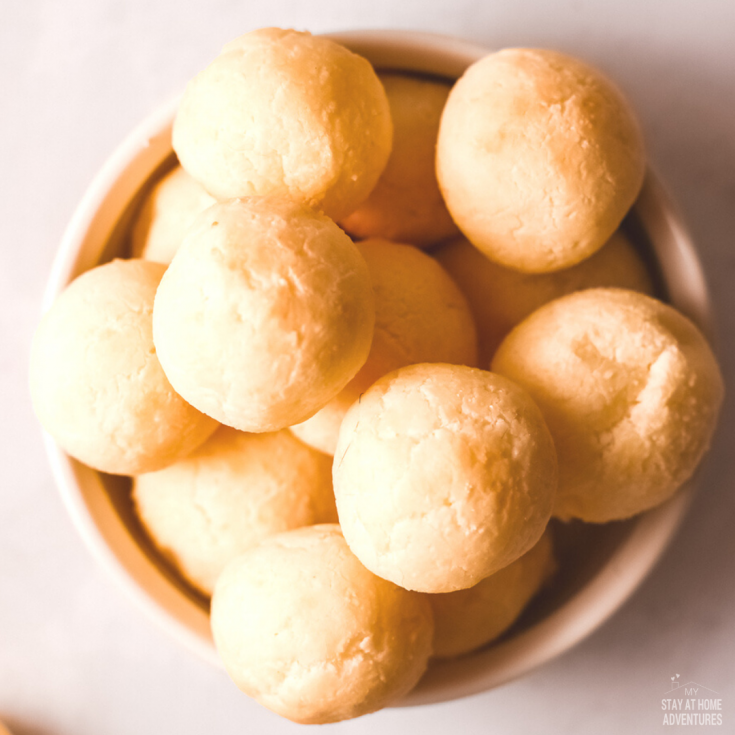
This is so delicious!! The traditional recipe calls for tapioca flour but since that’s not something everyone has in their pantry (or that's easy to find) I subbed it for cornstarch and the result was almost identical.
You can also freeze them allowing you to make a large batch and keep them frozen for when a pan de queijo craving strikes.
Ingredients
- 2 Cups cornstarch
- 1/2 Cup + 2 Tbsp milk
- 3 Tbsp vegetable oil
- 1 Cup mozzarella cheese
- 1 Egg
- 1 Tsp salt
Instructions
In a saucepan over medium heat bring the milk, oil and salt to a boil.
In the bowl of a stand mixer add the cornstarch. Once the milk is boiling pour it over the cornstarch and mix for 5 minutes, the batter should look like fondant.
Add the egg and mix for 4 more minutes.
Incorporate the cheese and mix until it is combined. Cover the bowl with plastic wrap and refrigerate for 30 minutes.
Preheat the oven to 400 degrees. Grease a baking pan and set aside.
With the help of a spoon shape small balls and place them onto the baking pan.
Take to the oven and bake for 18 minutes or until golden outside.
Nutrition Information:
Yield:
6Serving Size:
1Amount Per Serving: Calories: 293Total Fat: 12gSaturated Fat: 3gTrans Fat: 0gUnsaturated Fat: 8gCholesterol: 46mgSodium: 523mgCarbohydrates: 40gFiber: 0gSugar: 0gProtein: 5g
These nutritional calculations might not be accurate. Please speak with a licensed nutritionist to assist you.

I made this recipe, I don’t understand why they didn’t taste anything 😕