Salsa Verde Beef Filling
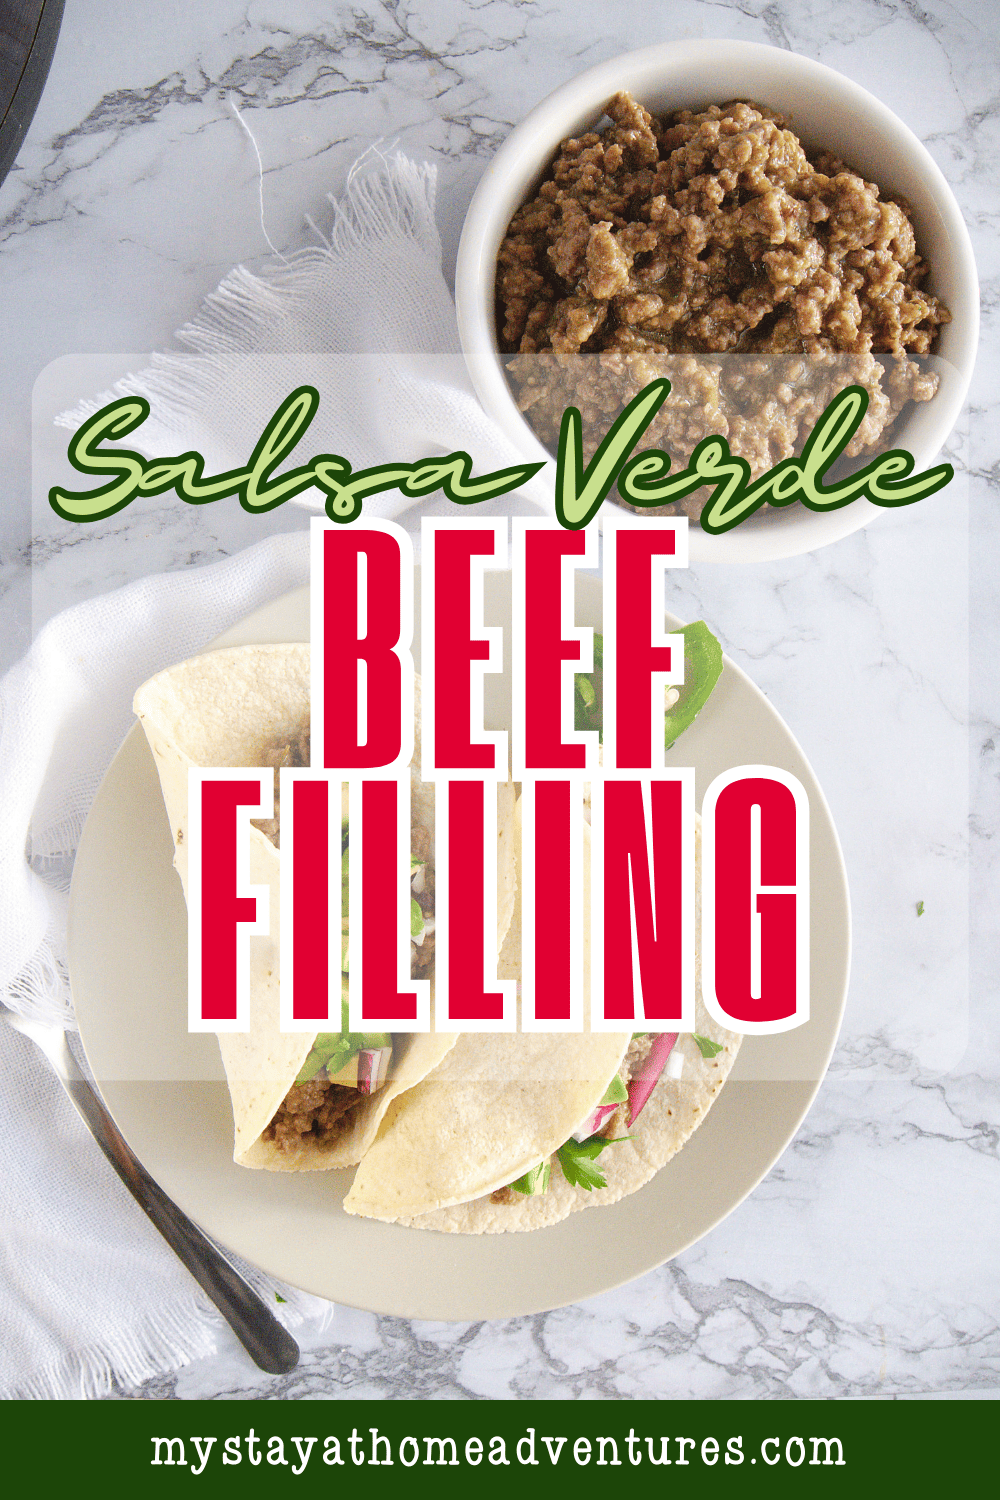
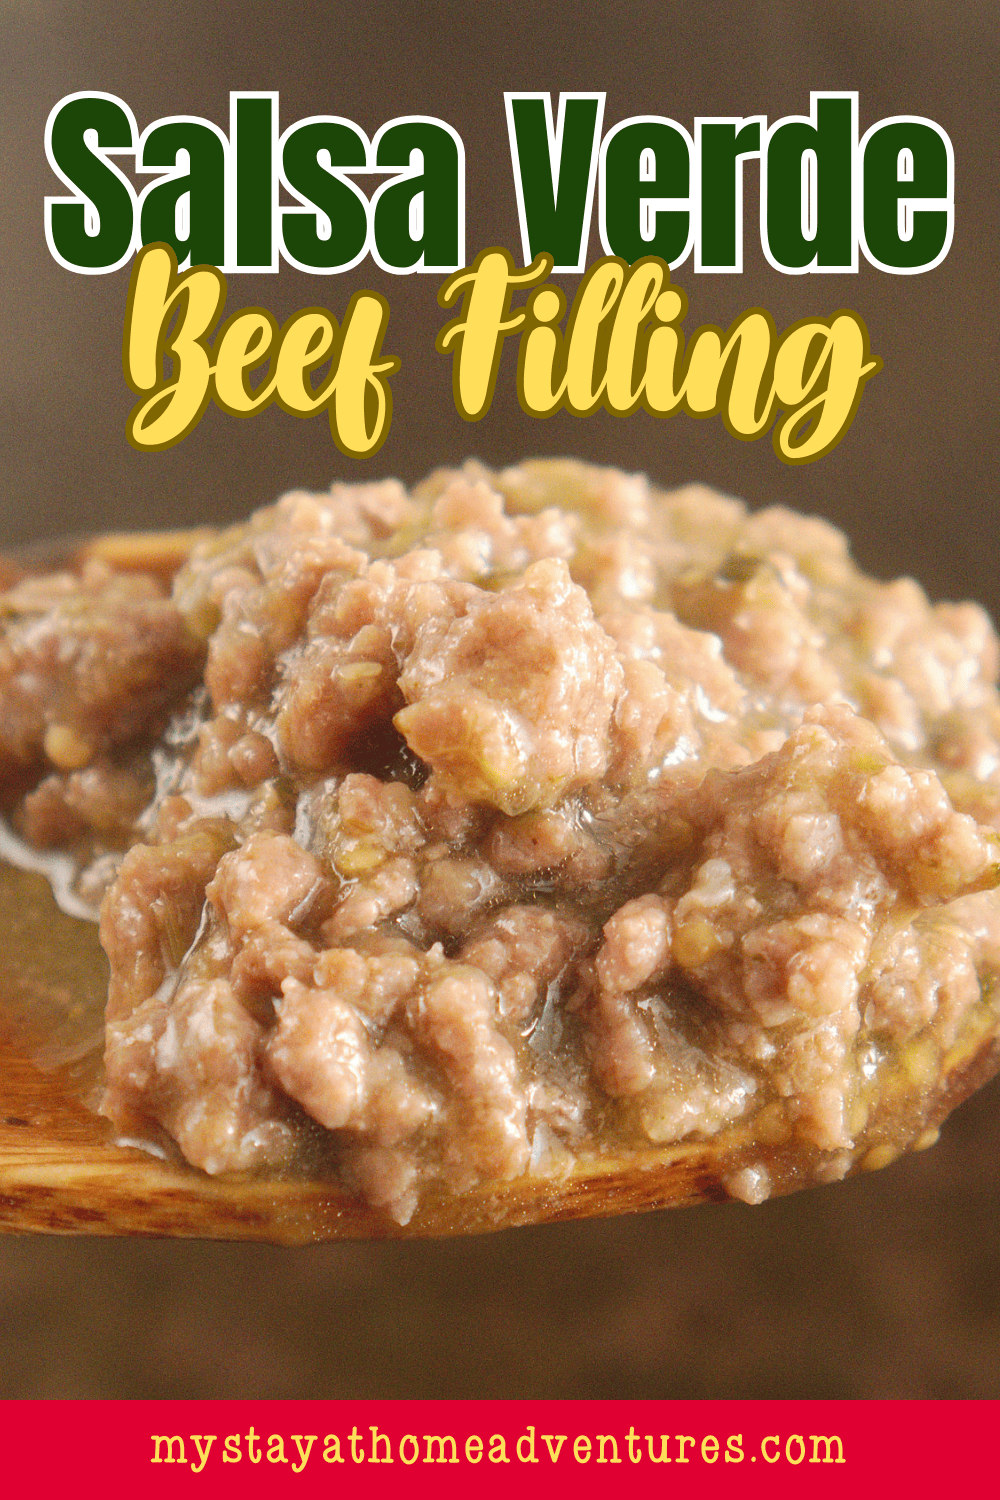
This post may contain affiliate links which might earn us money. Please read my Disclosure and Privacy policies hereSalsa Verde Beef Filling is a flavorful and versatile recipe perfect for creating Mexican-inspired dinner ideas. Tender ground beef simmered with vibrant salsa verde makes a savory filling for tacos, burritos, enchiladas, and more.
This recipe is easy to make and packed with bold flavors, requiring minimal effort. It’s perfect for busy weeknights or festive gatherings. The salsa verde beef pairs wonderfully with various sides and toppings.
Serve it in warm tortillas with a dollop of sour cream, fresh cilantro, and a squeeze of lime. For a full meal, pair it with Mexican rice and refried beans.
Or use it as a topping for nachos, a filling for quesadillas, or even a hearty protein for taco salads. Its versatility makes it a must-try addition to your recipe collection.
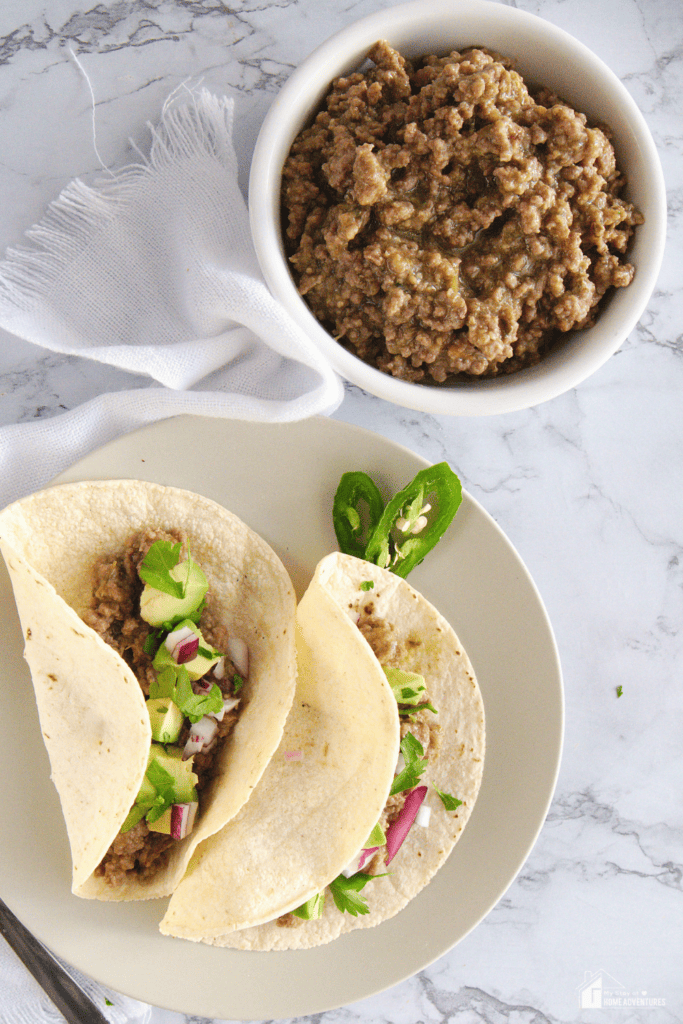
What Is Salsa Verde Beef Filling?
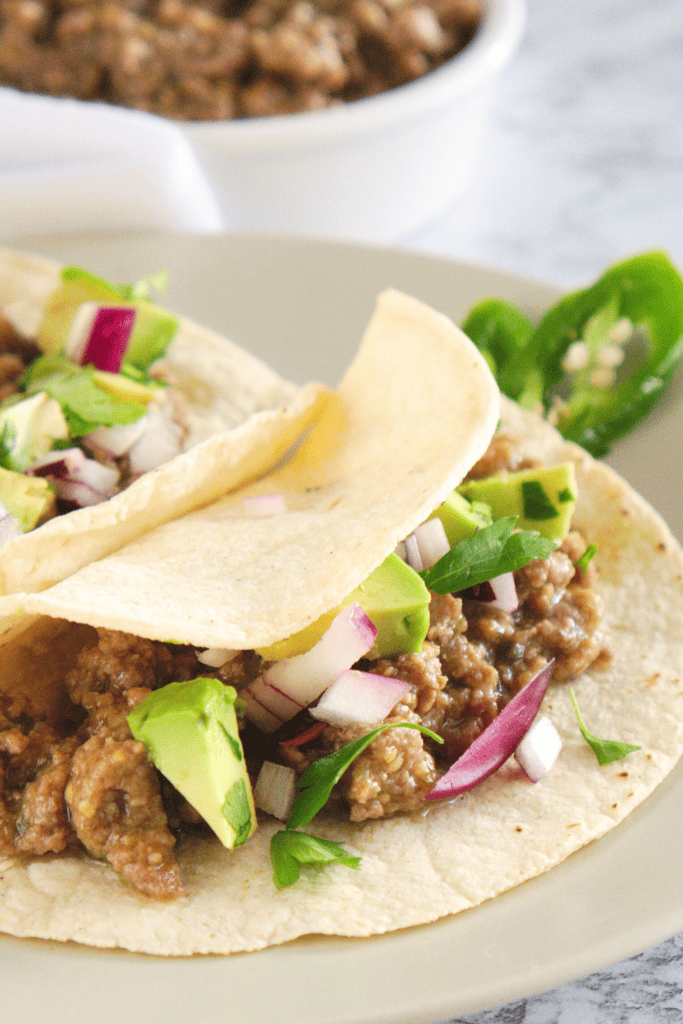
It's a Mexican-inspired dish that combines tender beef with the bright, tangy flavors of green salsa (salsa verde). Salsa verde, made primarily with tomatillos, green chiles, and fresh herbs, is the star ingredient that infuses the beef with its signature flavor.
This dish is commonly used as a filling for tacos, enchiladas, and burritos, but it can also be served over rice or in bowls for a full meal option. The beauty of salsa verde beef filling is its ability to transform a simple cut of beef into a flavorful and versatile dish.
It’s perfect for family dinners, meal prepping, or serving at parties where a build-your-own taco bar is a hit with guests.
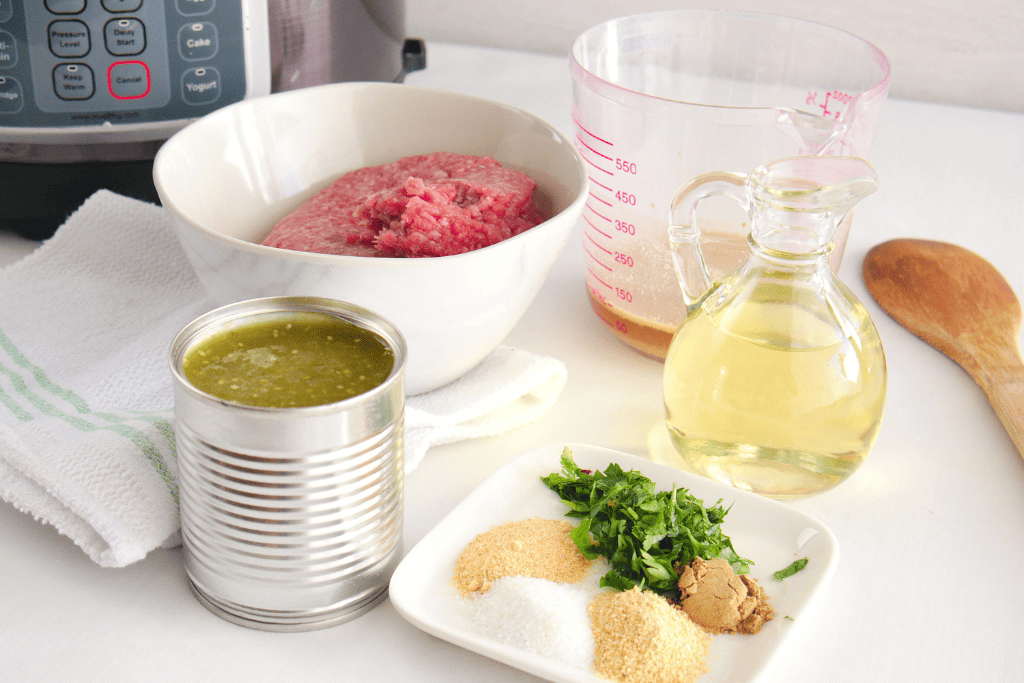
Ingredients To Make This Recipe
This dish uses a handful of simple ingredients to create a flavorful and versatile beef filling:
1 tablespoon vegetable oil – Used to sauté the beef and ensure it cooks evenly while adding a slight richness.
¼ teaspoon ground cumin seed – Adds a subtle earthiness and warm spice that pairs beautifully with the salsa verde.
1 pound ground beef – The base of the recipe, providing a hearty and savory protein.
1 teaspoon garlic powder – Adds a warm, aromatic flavor to the beef.
8 ounces mild salsa verde – The star of the recipe. Salsa verde infuses the beef with its tangy, slightly spicy flavor. Herdez salsa verde works wonderfully, but you can use your preferred brand.
1 teaspoon onion powder – Enhances the overall depth of flavor in the dish.
½ cup beef broth – Adds moisture to the dish, helping to create a rich and saucy consistency.
1 teaspoon salt – Balances and brings out the flavors of all the ingredients.
1 heaping tablespoon of chopped cilantro – Adds a fresh, herbaceous touch to the dish.
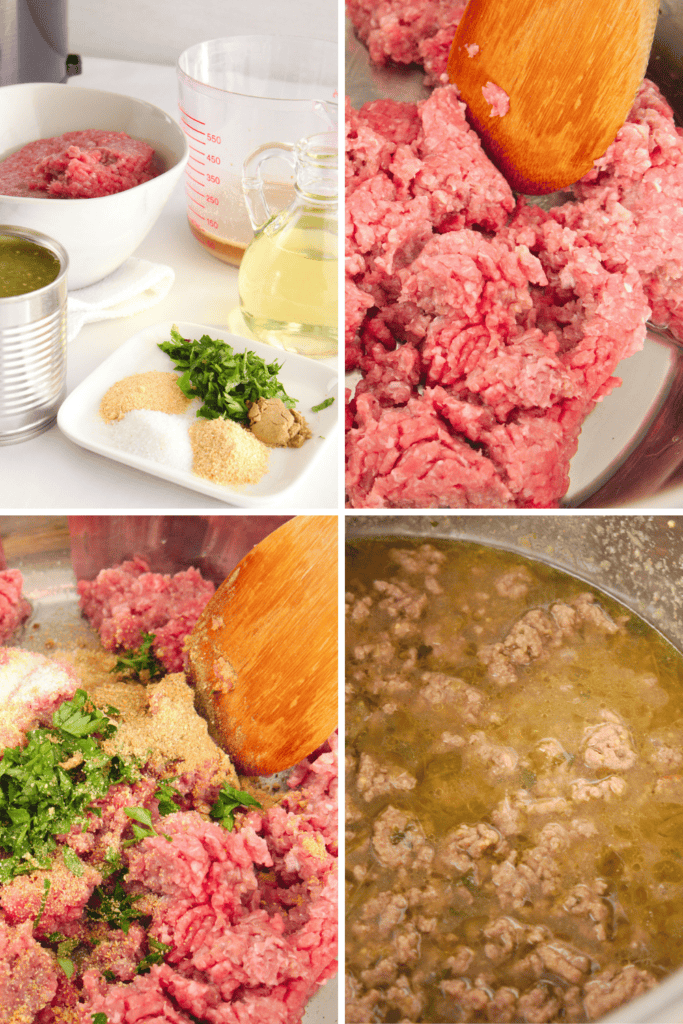
How To Make Salsa Verde Beef Filling
Here’s a step-by-step guide to making this flavorful beef recipe using a pressure cooker. The process is quick and easy, making it perfect for busy weeknights or meal prepping.
- Drizzle 1 tablespoon of vegetable oil into the pot of your pressure cooker. Select the “Sauté” setting and set it for 4 minutes. Allow the oil to warm up.
- Add the 1 pound of ground beef to the pot.
- Sprinkle in 1 teaspoon garlic powder, 1 teaspoon onion powder, ¼ teaspoon ground cumin seed, 1 teaspoon salt, and 1 heaping tablespoon of chopped cilantro.
- Stir well to mix the seasonings evenly throughout the beef. Cook the beef, stirring occasionally, until it is almost fully browned.
- Cancel the “Sauté” setting.
- Pour 8 ounces of mild salsa verde over the beef, followed by ½ cup of beef broth. Gently stir to combine the liquid ingredients with the beef.
- Place the lid on the pressure cooker and ensure the valve is set to “Sealing.” Select the “High Pressure” setting and set the timer for 4 minutes.
- Once the cooking time is up, carefully do a quick release by moving the valve to “Venting.”
- Allow all of the pressure to release before opening the lid. Be sure to open the lid away from your face to avoid steam burns.
- At this stage, the beef will be very saucy. If you plan to serve it over rice, it’s ready to go. However, if you’re using it as a filling for tacos, burritos, or quesadillas, select the “Sauté” setting again and set it for 5 minutes.
- Cook the mixture, stirring occasionally, until the liquid reduces and the beef reaches your desired consistency. For a drier filling, you may need to sauté it a little longer.
- Serve the salsa verde beef filling immediately. Use it as a topping for rice, a filling for tacos or burritos, or a delicious addition to nachos.
- Add your favorite toppings like shredded cheese, diced onions, or fresh cilantro for an extra touch of flavor.
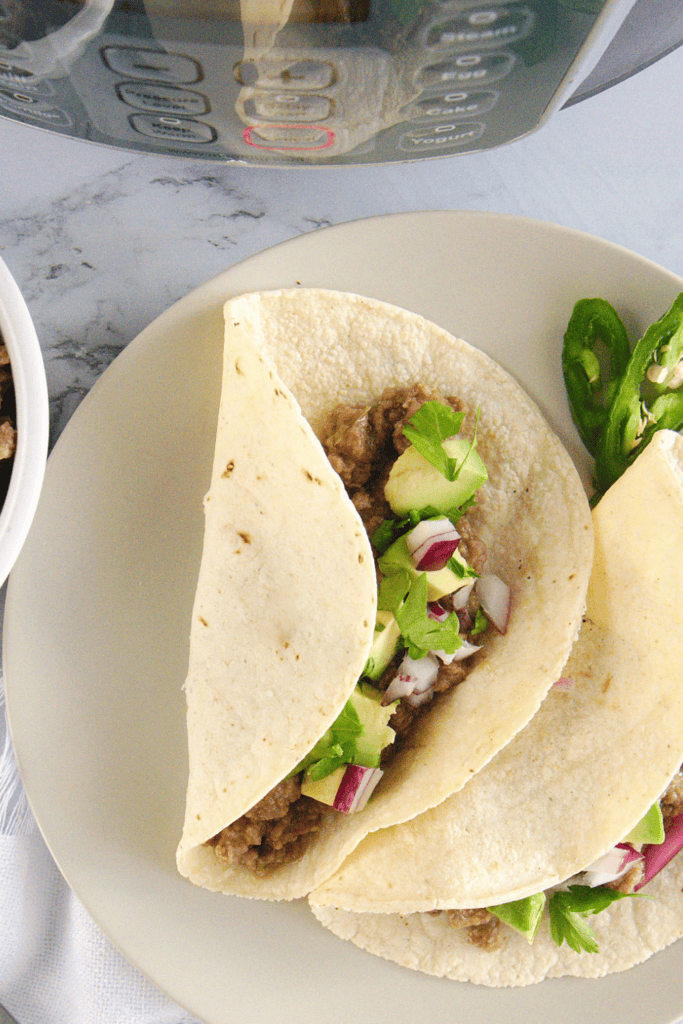
Tips For This Easy Taco Filling
- Use leftover beef: This recipe works well with leftover pot roast or brisket, making it a great way to repurpose leftovers into a new meal. Ground beef also works fine since it's always readily available.
- Homemade salsa verde: If you have the time, try making your own salsa verde for a fresh and personalized flavor.
- Low and slow cooking: If making the beef from scratch, cook it low and slow in a crockpot or pressure cooker for the most tender, shreddable texture.
- Spice it up: If you like heat, add diced jalapeños or a sprinkle of cayenne pepper to the filling for extra spice.
- Freeze for later: This filling freezes well. Make a double batch and store it in an airtight container for up to 3 months. Simply thaw and reheat when needed.
Frequently Asked Questions
Can I use chicken instead of beef?
Yes! Shredded chicken is a great substitute for beef in this recipe. You can use pre-cooked chicken breast or thighs, and the salsa verde will still provide the same delicious flavor.
What can I serve with salsa verde beef filling?
Salsa verde beef is versatile and can be served in tacos, enchiladas, burritos, or quesadillas. Pair it with classic Mexican sides like rice, beans, or a fresh avocado salad. For a lighter option, serve it over a bed of lettuce for a taco salad.
How do I store leftovers?
Store any leftover salsa verde beef filling in an airtight container in the refrigerator for up to 3 days. Reheat it in a skillet over medium heat, adding a splash of water or extra salsa verde if needed to prevent it from drying out.
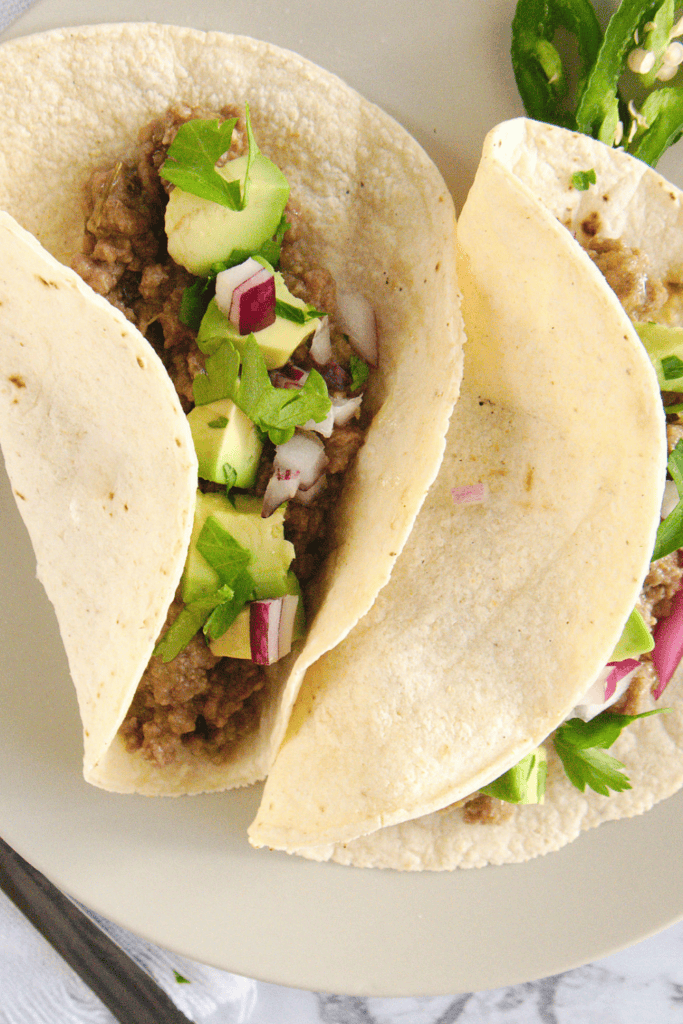
Have you tried making salsa verde beef filling? Share your thoughts by leaving a rating and review below! Whether you’re using it as an easy taco filling or a topping for nachos, this recipe is a delicious way to bring bold, Mexican-inspired flavors to your table. Enjoy!
You might like these recipes:
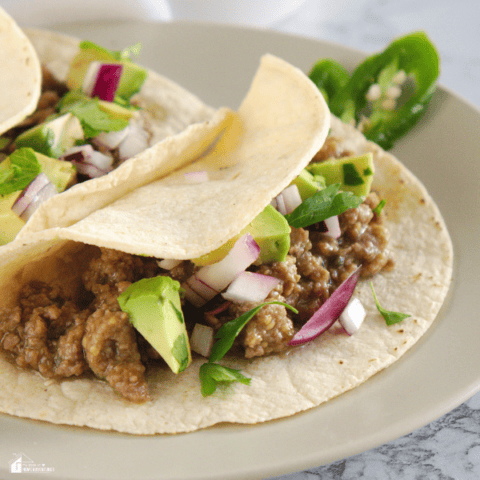
Pressure Cooker Salsa Verde Beef Filling Recipe
Make a flavorful and easy pressure cooker salsa verde beef filling in just 15 minutes! This Mexican-inspired beef recipe is made with tender ground beef, zesty salsa verde, and aromatic spices, creating the perfect filling for tacos, burritos, rice bowls, or nachos.
Cooking it in a pressure cooker ensures rich flavor in a fraction of the time, making it an excellent choice for a quick weeknight dinner.
Serve it for taco night or use it as a simple meal prep option—either way, this salsa verde beef will become a new favorite!
Ingredients
- 1 Tablespoon vegetable oil
- 1 lb ground beef
- 1 Teaspoon garlic powder
- 1 teaspoon onion powder
- ¼ teaspoon ground cumin seed
- 1 teaspoon salt
- 1 heaping Tablespoon chopped cilantro
- 8 oz mild salsa verde (I used Herdez salsa)
- ½ cup of beef broth
Instructions
- Heat the pressure cooker. Select the Sauté setting and set it for 4 minutes. Once hot, drizzle in the vegetable oil to coat the bottom of the pot.
- Cook the ground beef. Add the ground beef to the pot and break it apart with a spoon. Sprinkle in the garlic powder, onion powder, ground cumin, and salt. Stir everything together, making sure the beef is evenly coated with the seasonings. Cook until the meat is nearly browned.
- Add the liquids. Cancel the Sauté setting. Pour in the salsa verde and beef broth, stirring to combine.
- Pressure cook. Secure the lid on the pressure cooker and set the valve to Sealing. Select High Pressure and cook for 4 minutes.
- Release the pressure. Once the cooking time is up, carefully move the valve to Venting for a quick release. Once all the pressure has been released, open the lid away from your face.
- Adjust the consistency. At this stage, the beef filling will be saucy. If serving over rice, it can be used as is. If using as a taco or burrito filling, select the Sauté setting again and cook for about 5 minutes, stirring occasionally, until the mixture thickens to your desired consistency.
- Serve and enjoy! Use the salsa verde beef filling for tacos, burritos, rice bowls, or nachos.
Notes
Use lean ground beef – If using beef with higher fat content, drain excess grease after sautéing to prevent the filling from becoming too oily.
Adjust the consistency – For a saucier filling, serve immediately after pressure cooking. For a thicker texture, sauté for a few extra minutes to reduce the liquid.
Enhance the flavor – Add chopped fresh cilantro or a squeeze of lime juice after cooking for extra freshness.
Make it spicier – Stir in chopped jalapeños, red pepper flakes, or hot sauce if you like a little heat.
Great for meal prep – Store leftovers in an airtight container in the fridge for up to 4 days or freeze for up to 3 months. Reheat in a skillet or microwave before serving.
Serving ideas – This beef filling is perfect for tacos, burritos, quesadillas, rice bowls, nachos, or even stuffed peppers.
Nutrition Information:
Yield: 4 Serving Size: 1Amount Per Serving: Calories: 367Total Fat: 24gSaturated Fat: 8gTrans Fat: 1gUnsaturated Fat: 12gCholesterol: 101mgSodium: 1085mgCarbohydrates: 5gFiber: 1gSugar: 2gProtein: 32g
This nurtition calculations might be incorrect. Please speak with a professional for more information.





3 Comments