
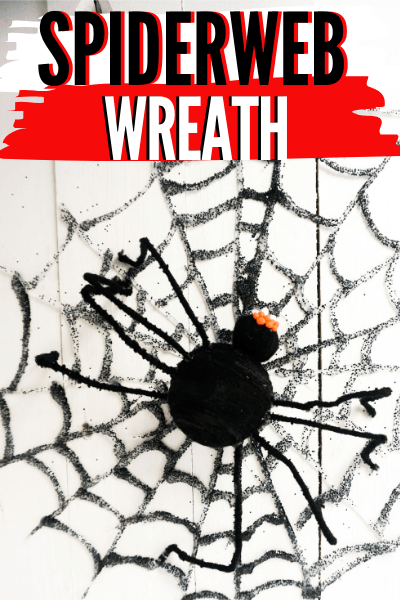
Easy Halloween Spiderweb Wreath
This post may contain affiliate links which might earn us money. Please read my Disclosure and Privacy policies hereMaking a Halloween wreath doesn’t have to be complicated, I mean, I’m not the “crafty” one, but we sure can make this Halloween Spiderweb wreath.
For real!
If you love using a glue gun, now is an excellent time to get “crafty” for Halloween and make this cute spiderweb wreath.

How to Make a Halloween Spiderweb Wreath
To make this Halloween wreath, you will need some supplies and tools, my friend. The list of supplies and tools is below.
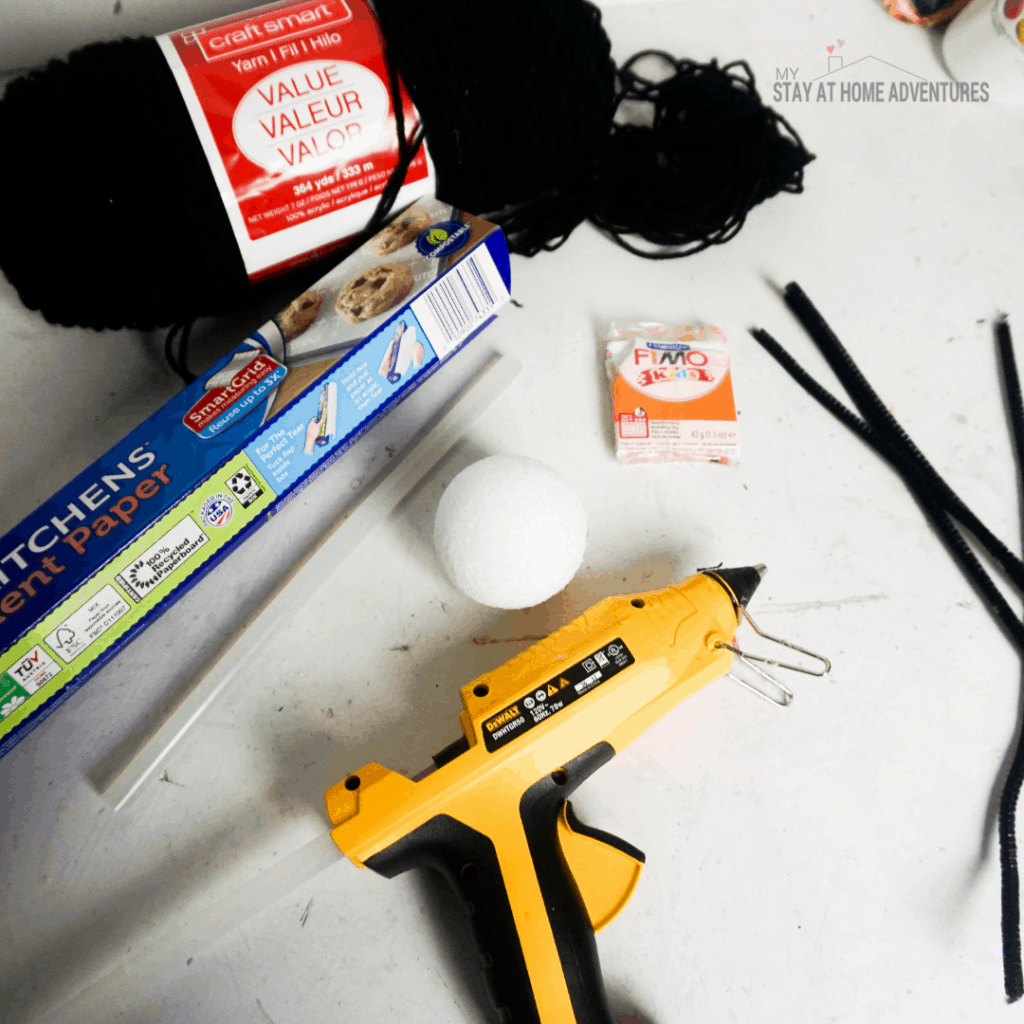
Spiderweb wreath supplies:
- 1 small-sized Foam Ball
- 1 medium-sized Foam Ball
- Black Yarn
- Small Amount of Orange Polymer Clay
- Small Amount of White Polymer Clay
- 8 Black Pipe Cleaners
- Black Glitter
Tools needed to make a Halloween wreath:
- Hot Glue Gun & Glue
- Parchment Paper
- Pencil
- Ruler
Now that you have gathered all the supplies and tools to create a Halloween wreath and are probably worried about the glitter, what can I say? Let’s begin.
- Start making your spider by breaking off eight tiny portions of the orange polymer clay.
- Roll each portion into a neat, tiny ball to make a spider eye. Set aside.
- Break off two tiny, equal-sized portions of white polymer clay.
- Roll each portion into a neat cone with one blunt end and one very pointy end to make spider fangs.
- Curve each white clay cone slightly by bending it over your thumb.
You might like:
- The Best Halloween Wreath Ideas For Non-Crafters!
- Spider Paper Plate Craft
- Sugar Glass Recipe (Candy Glass)
- Bake spider eyeballs and fangs per the directions on the polymer clay package.
- Affix one end of your black yarn to the smaller-sized foam ball.
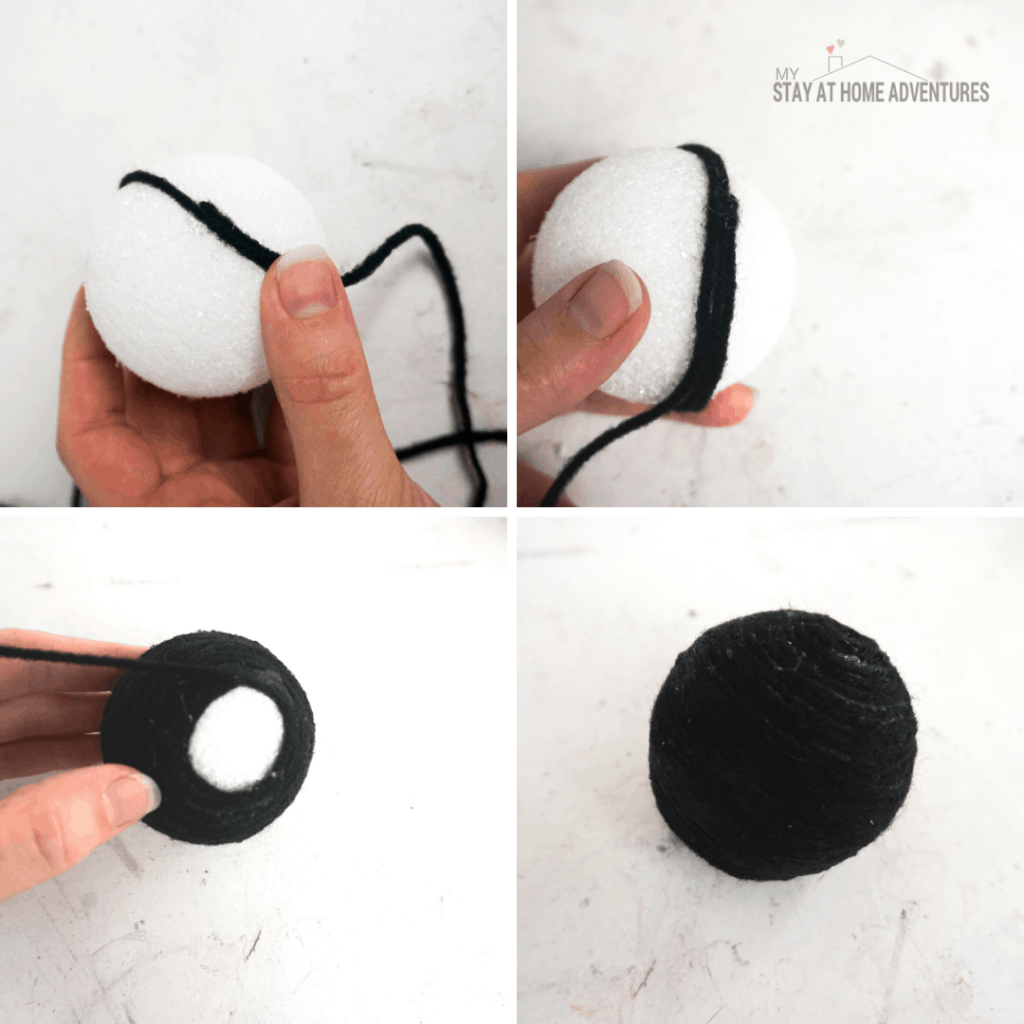
- Wind the yarn tightly around the foam ball, occasionally gluing, until you reach the other end of the ball and the entire ball is covered.
- Glue the end of the yarn in place and trim.
- Repeat yarn wrapping with the medium-sized foam ball.
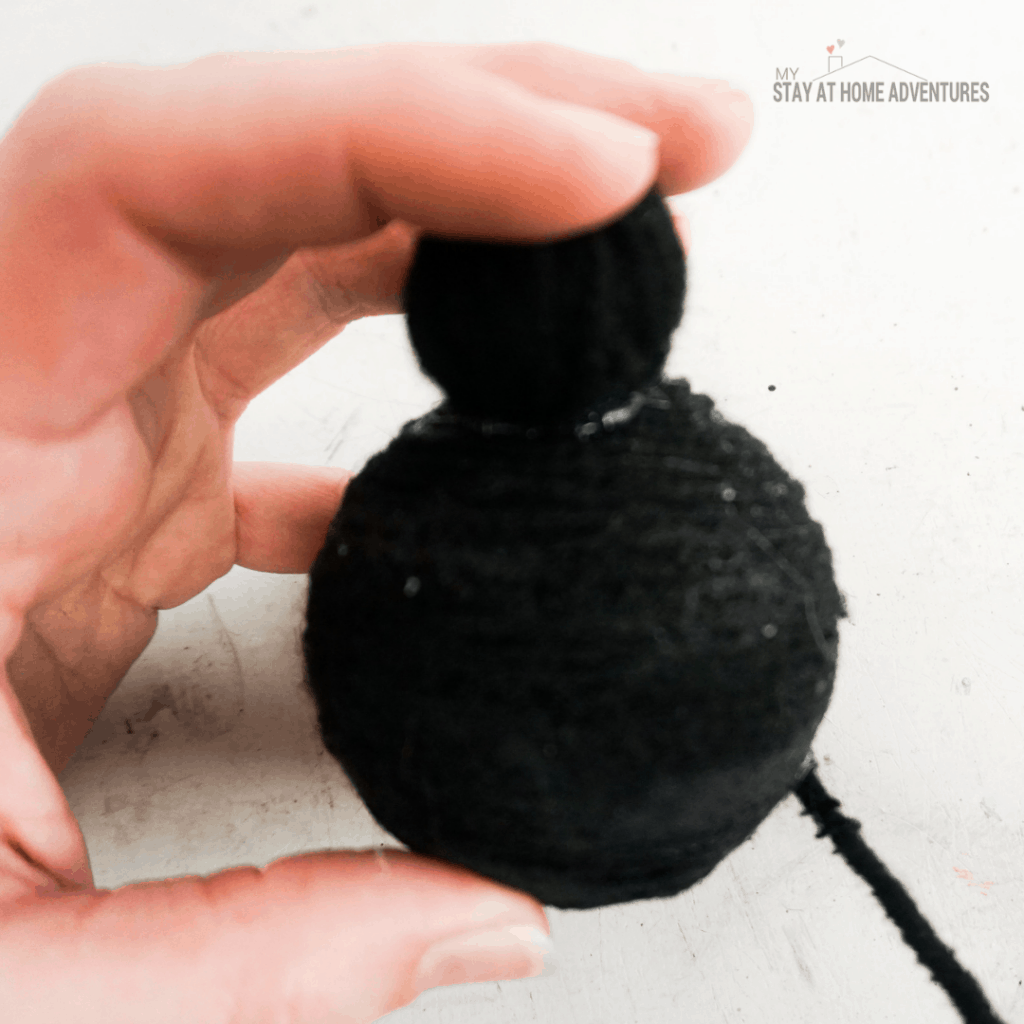
- Glue the smaller-sized foam ball on one end of the medium-sized foam ball.
- Set aside.
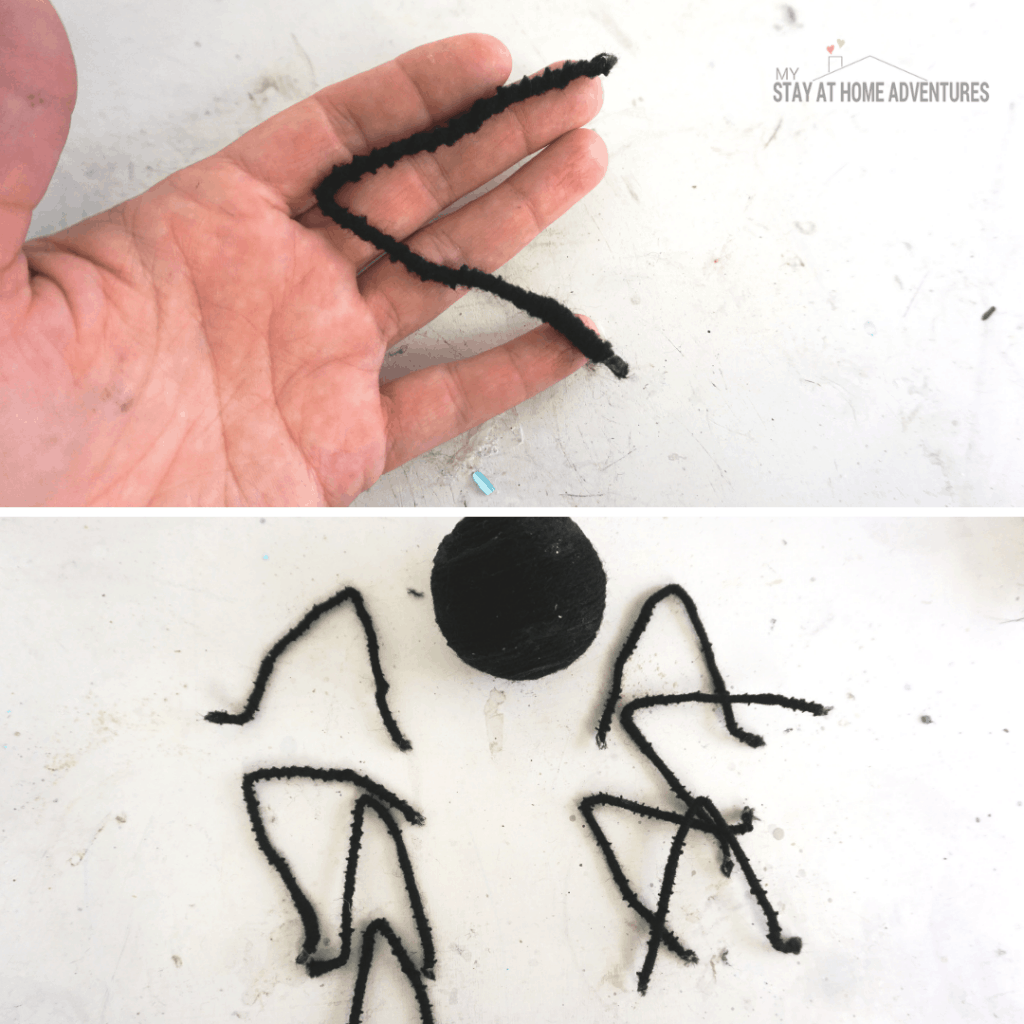
- Fold each pipe cleaner in half and wind the two sizes together tightly.
- Fold each pipe cleaner in half again, leaving the two sides bent in an acute “L” shape.
- Fold one end of each pipe cleaner outward to form a spider “foot.”
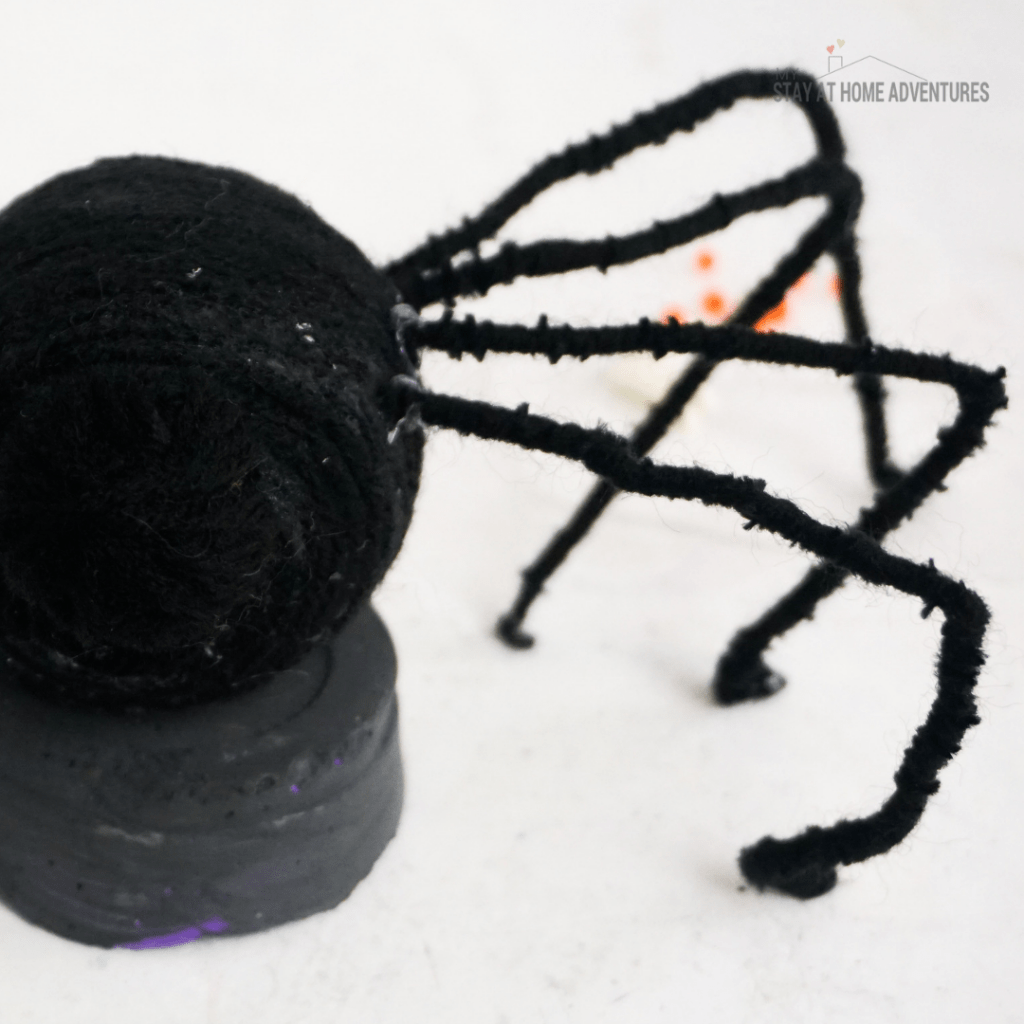
- Hot glue 4 of these pipe-cleaner spider legs onto each side of the spider body. I found this easiest when I had a little platform on which to put the spider body. I used a rock, but you can use a box or anything to hold the body up.
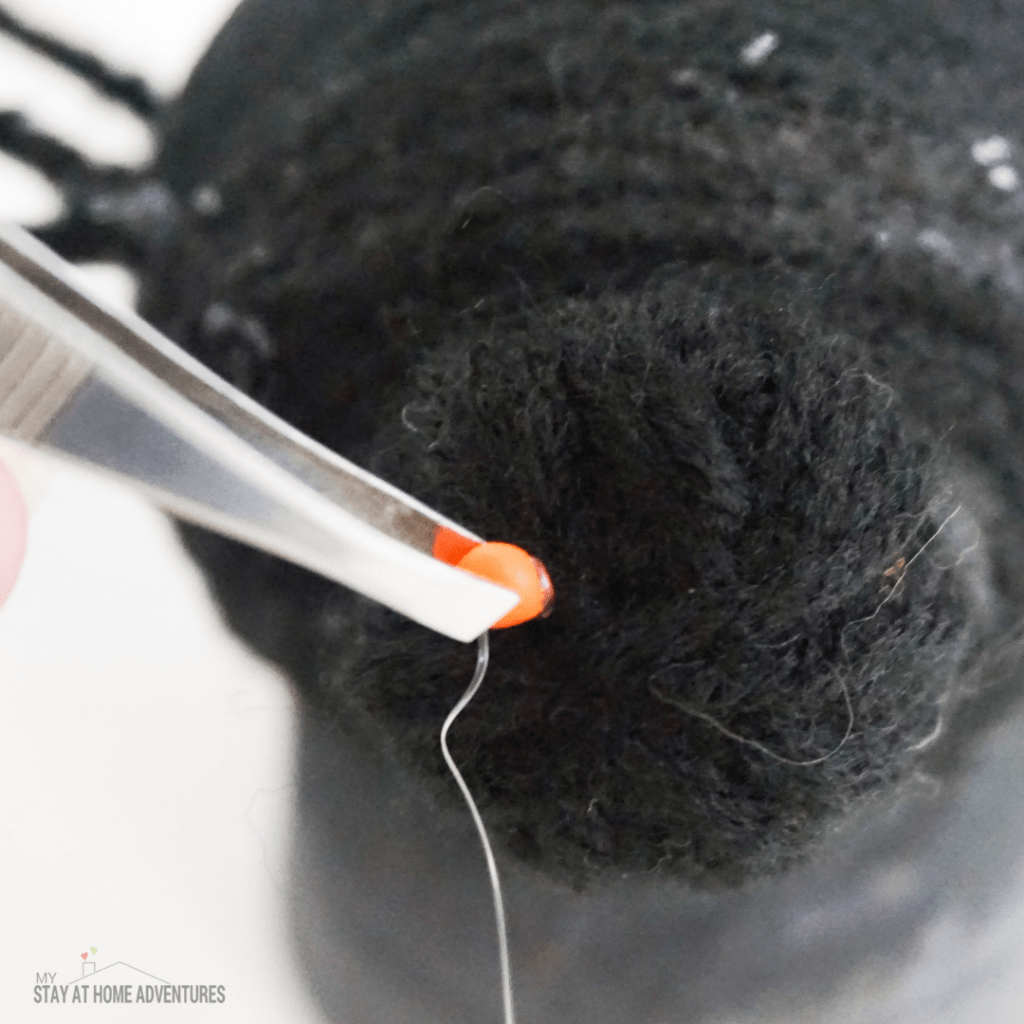
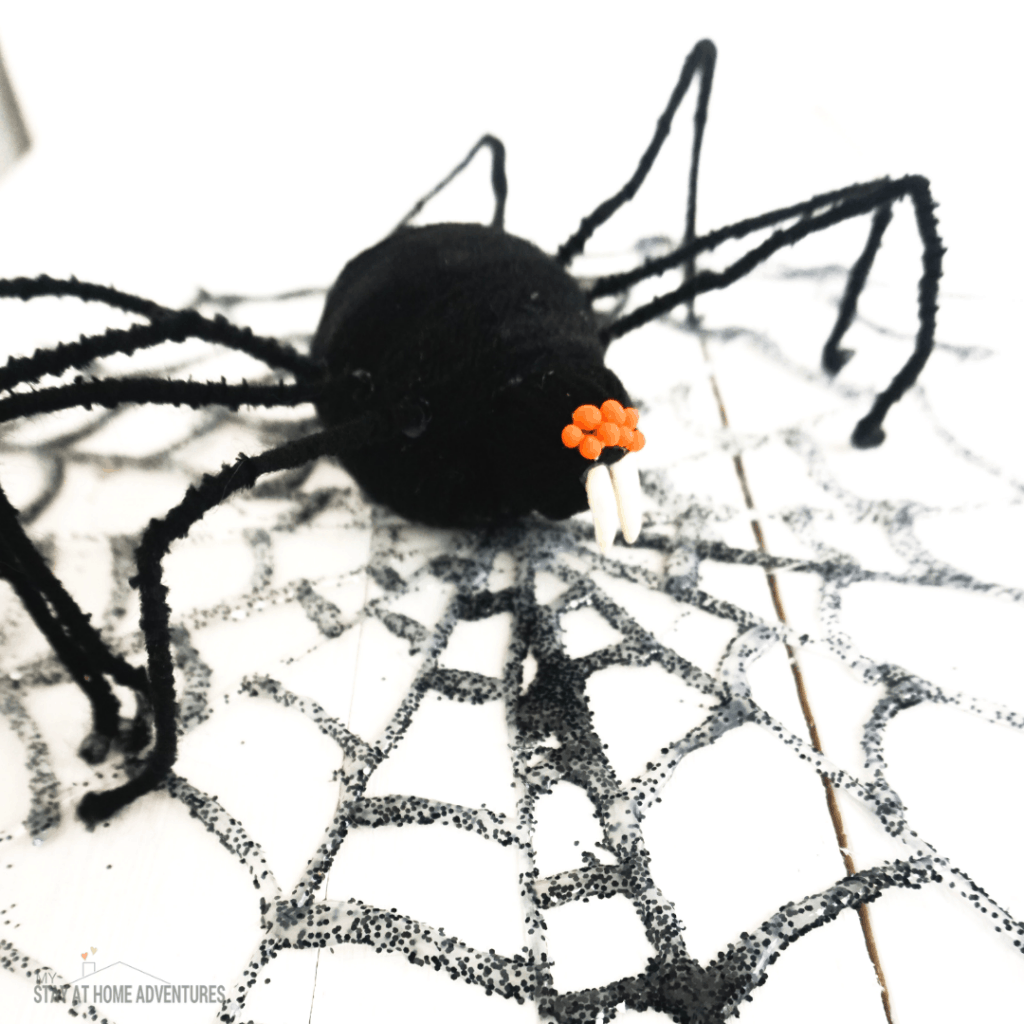
- Hot glue the eyes and fangs on the face of the spider. I found it most comfortable to get the eyes on without injuring myself with hot glue by using tweezers.
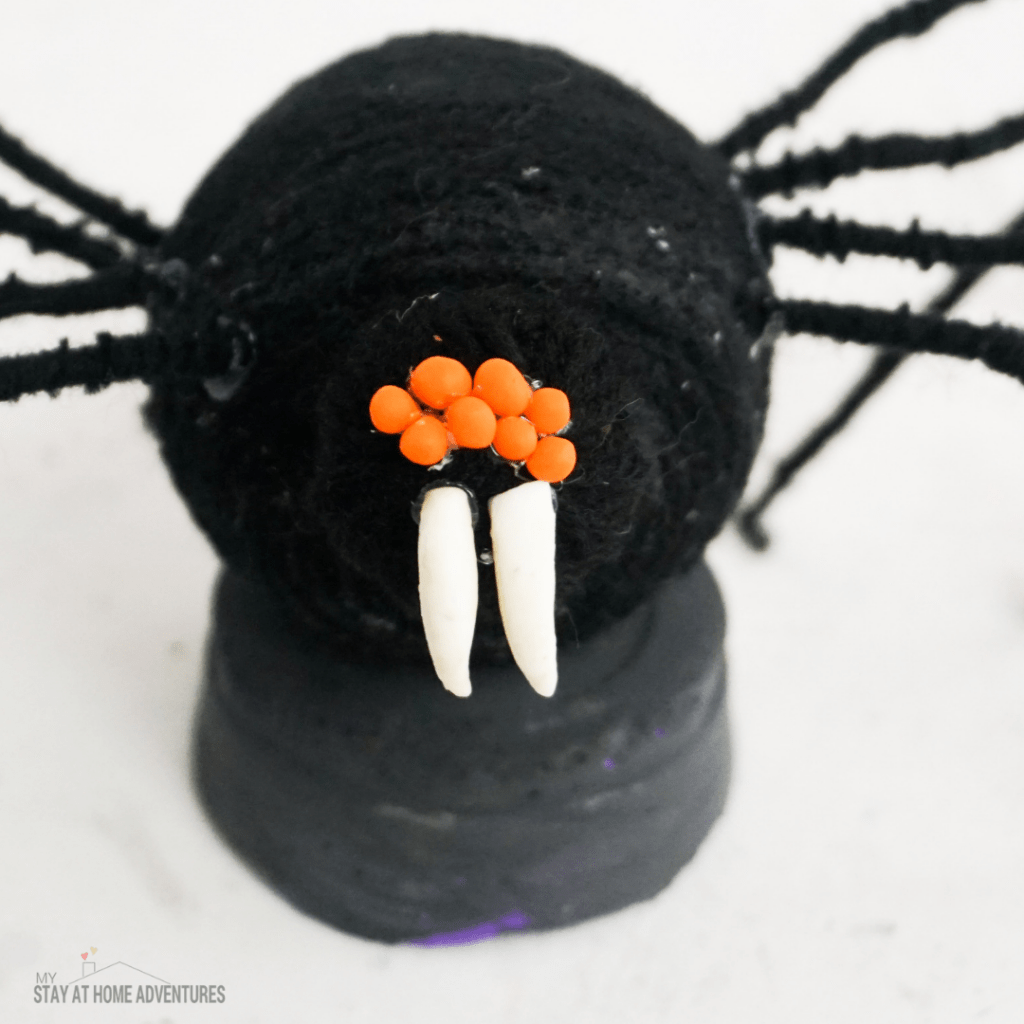
- Set the spider aside.
- To make the web, spread out two sheets of parchment paper side-by-side. Then, tape them in place onto the table and together.
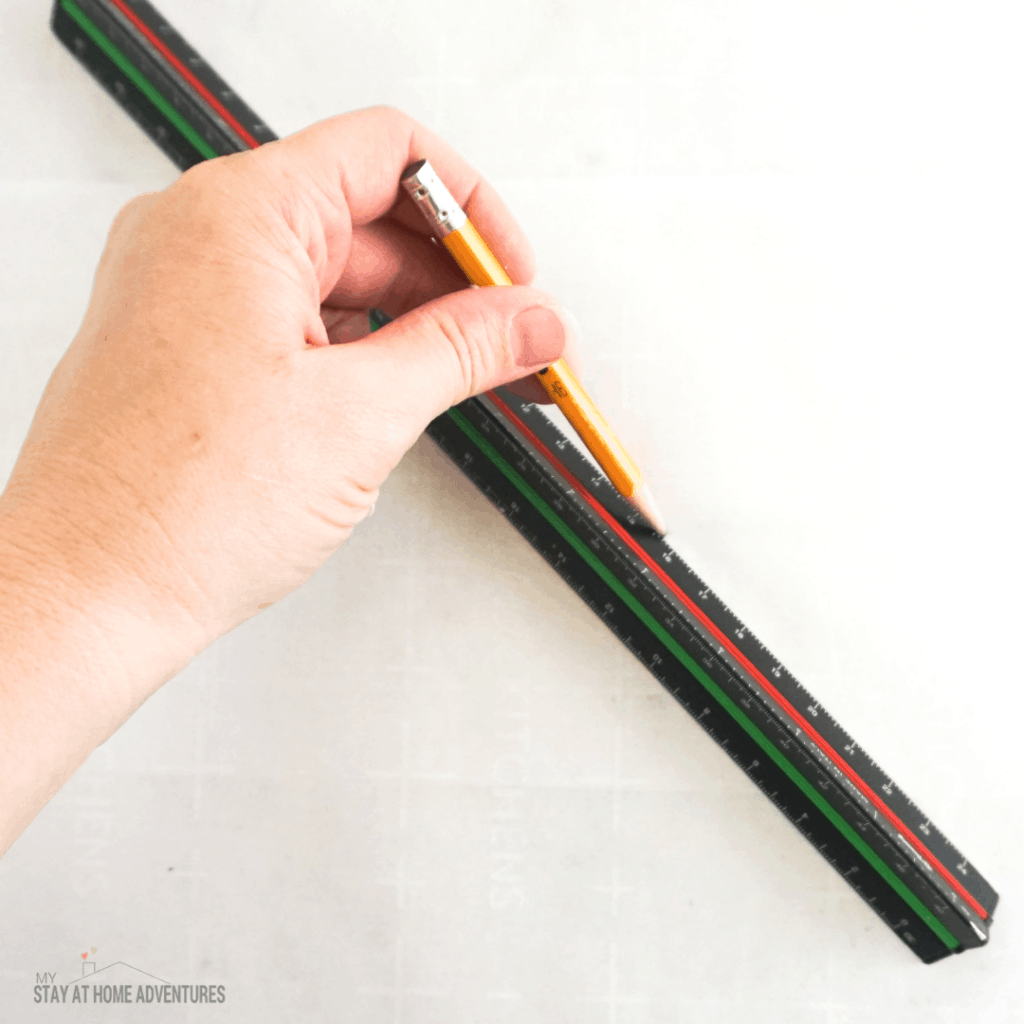
- Draw a spiderweb onto the parchment paper. I did this by starting with straight lines in the center like a starburst, then connecting them with arches.
- Using the hot glue gun, trace the spiderweb shape you just drew on the parchment paper with the hot glue.
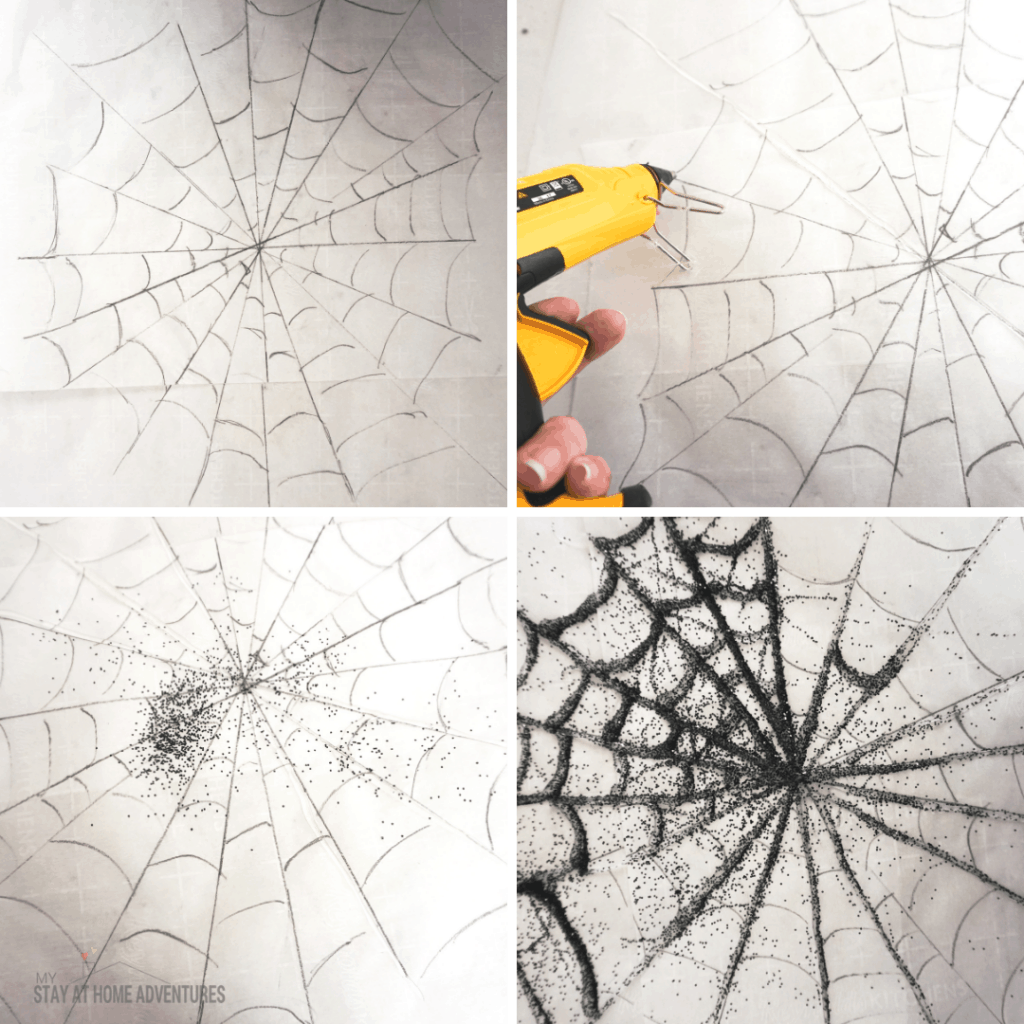
- As you finish each row of arches and lines, sprinkle the fresh hot glue with the black glitter, then shake it off a little.
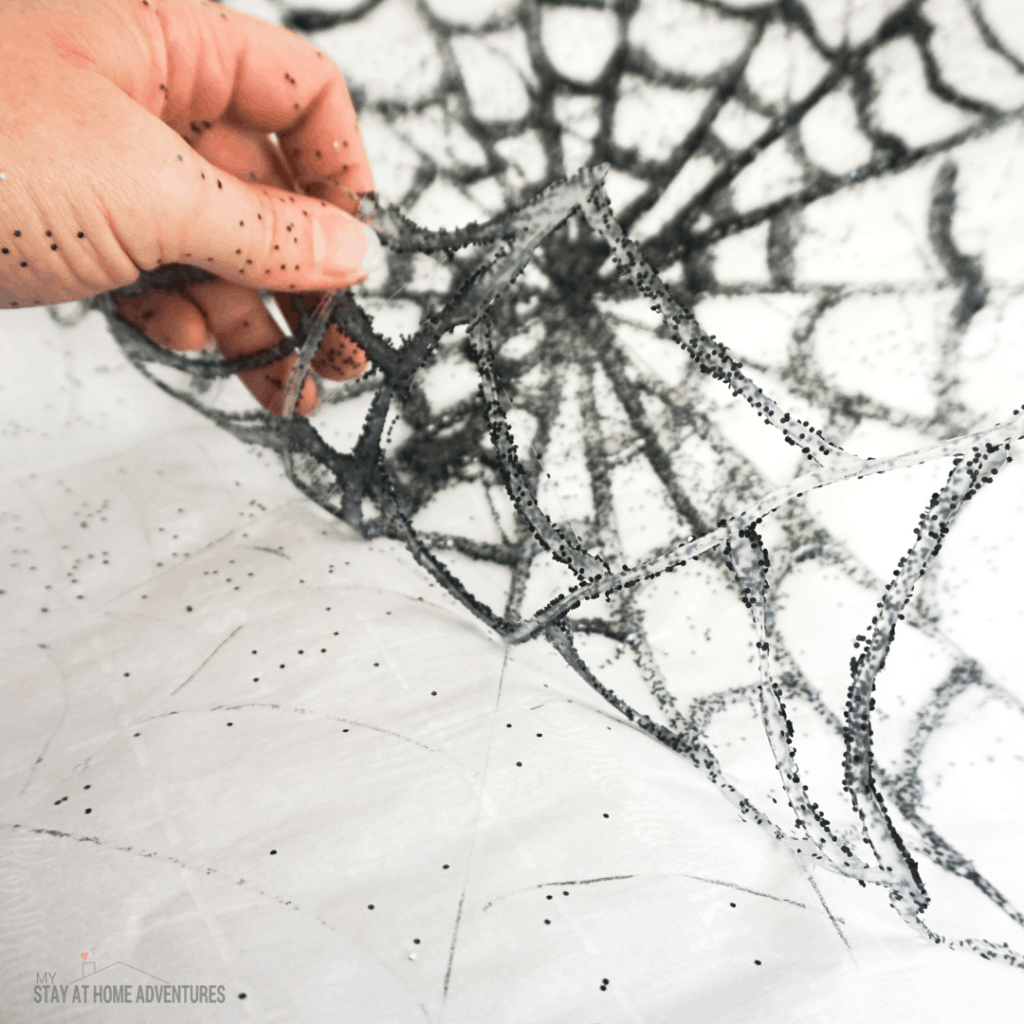
- Allow the hot glue to dry completely.
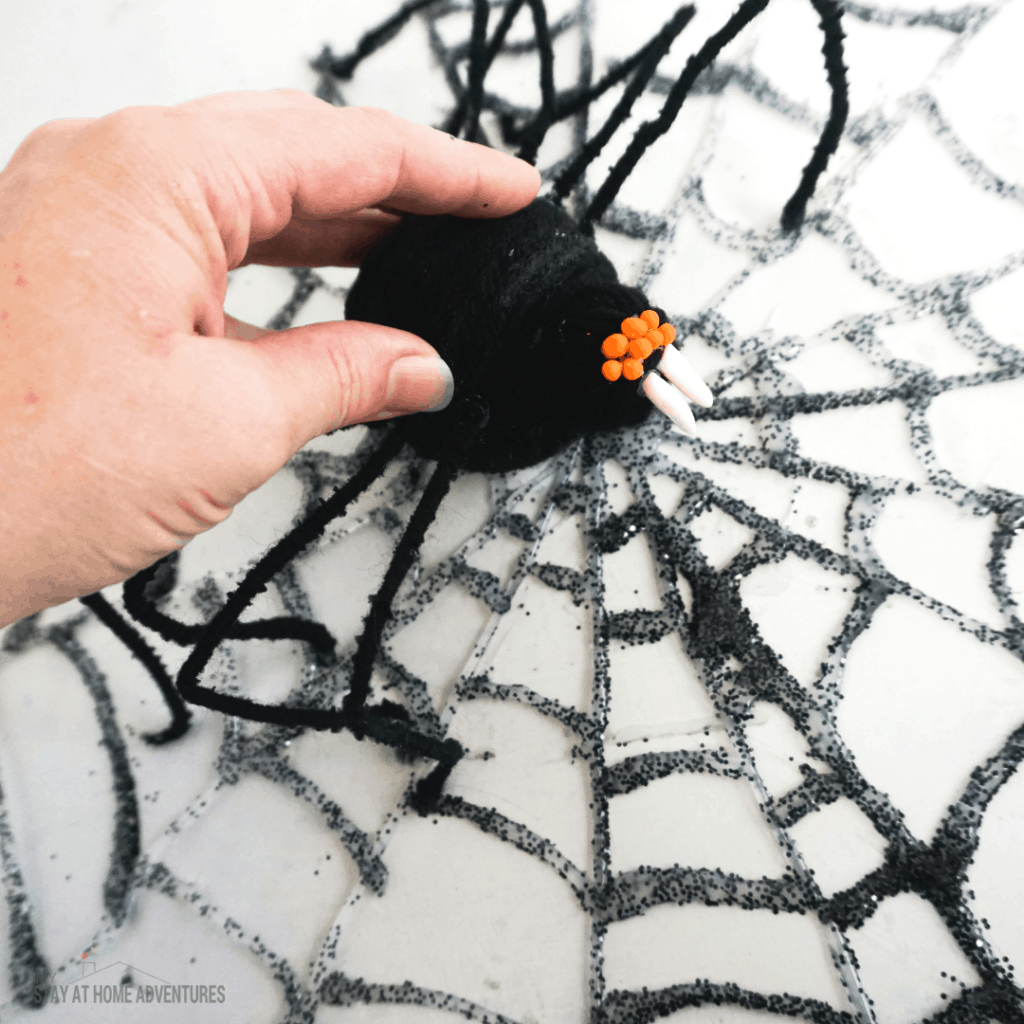
- Hot glue the spider in place on the web, as desired.
- Enjoy!
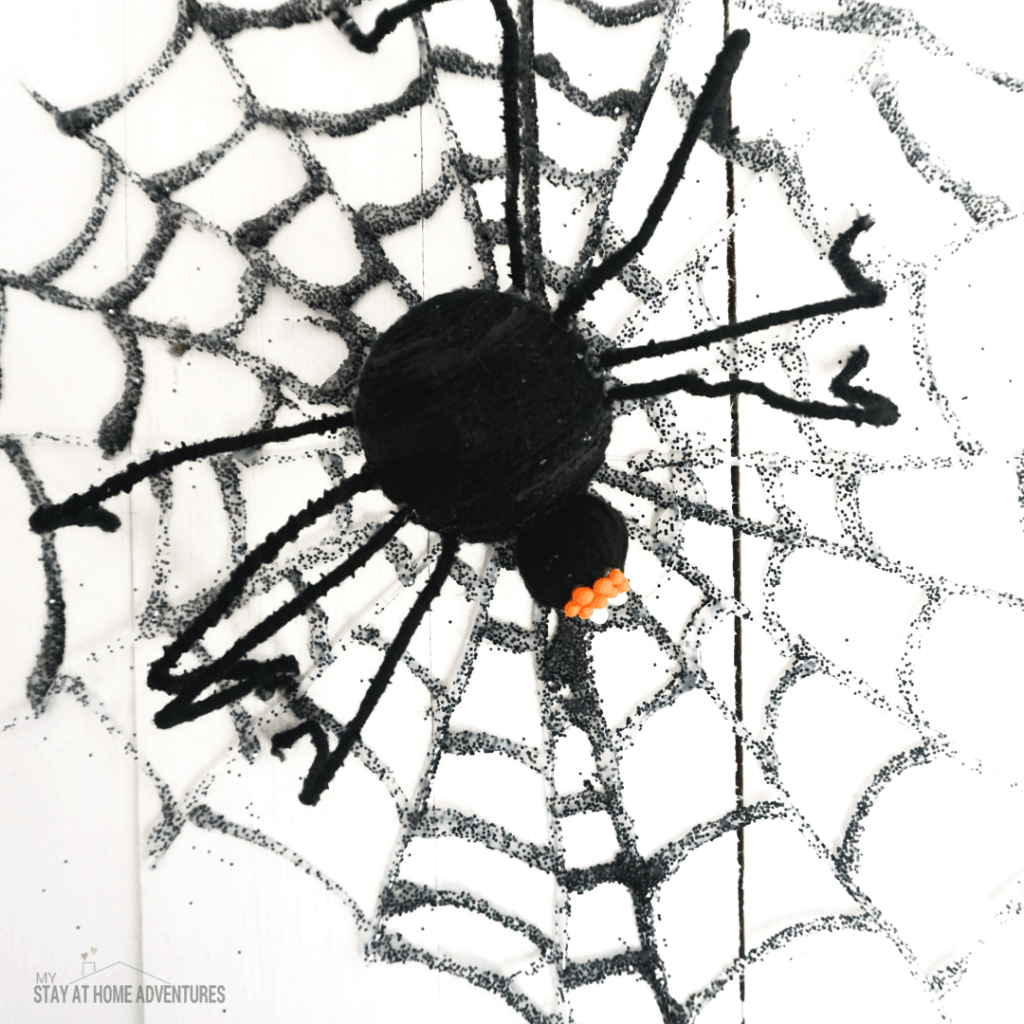
How cute is this Spiderweb Wreath?
About Chantal:
Chantal is the blogger behind Nerdy Mama, who loves to create and write!
Chantal is a nerd on a mission of mom-hood who wants to live in a world where unicorns are real rainbows that can be walked over and the Stormtroopers never find those suspicious droids they were looking for.


One Comment